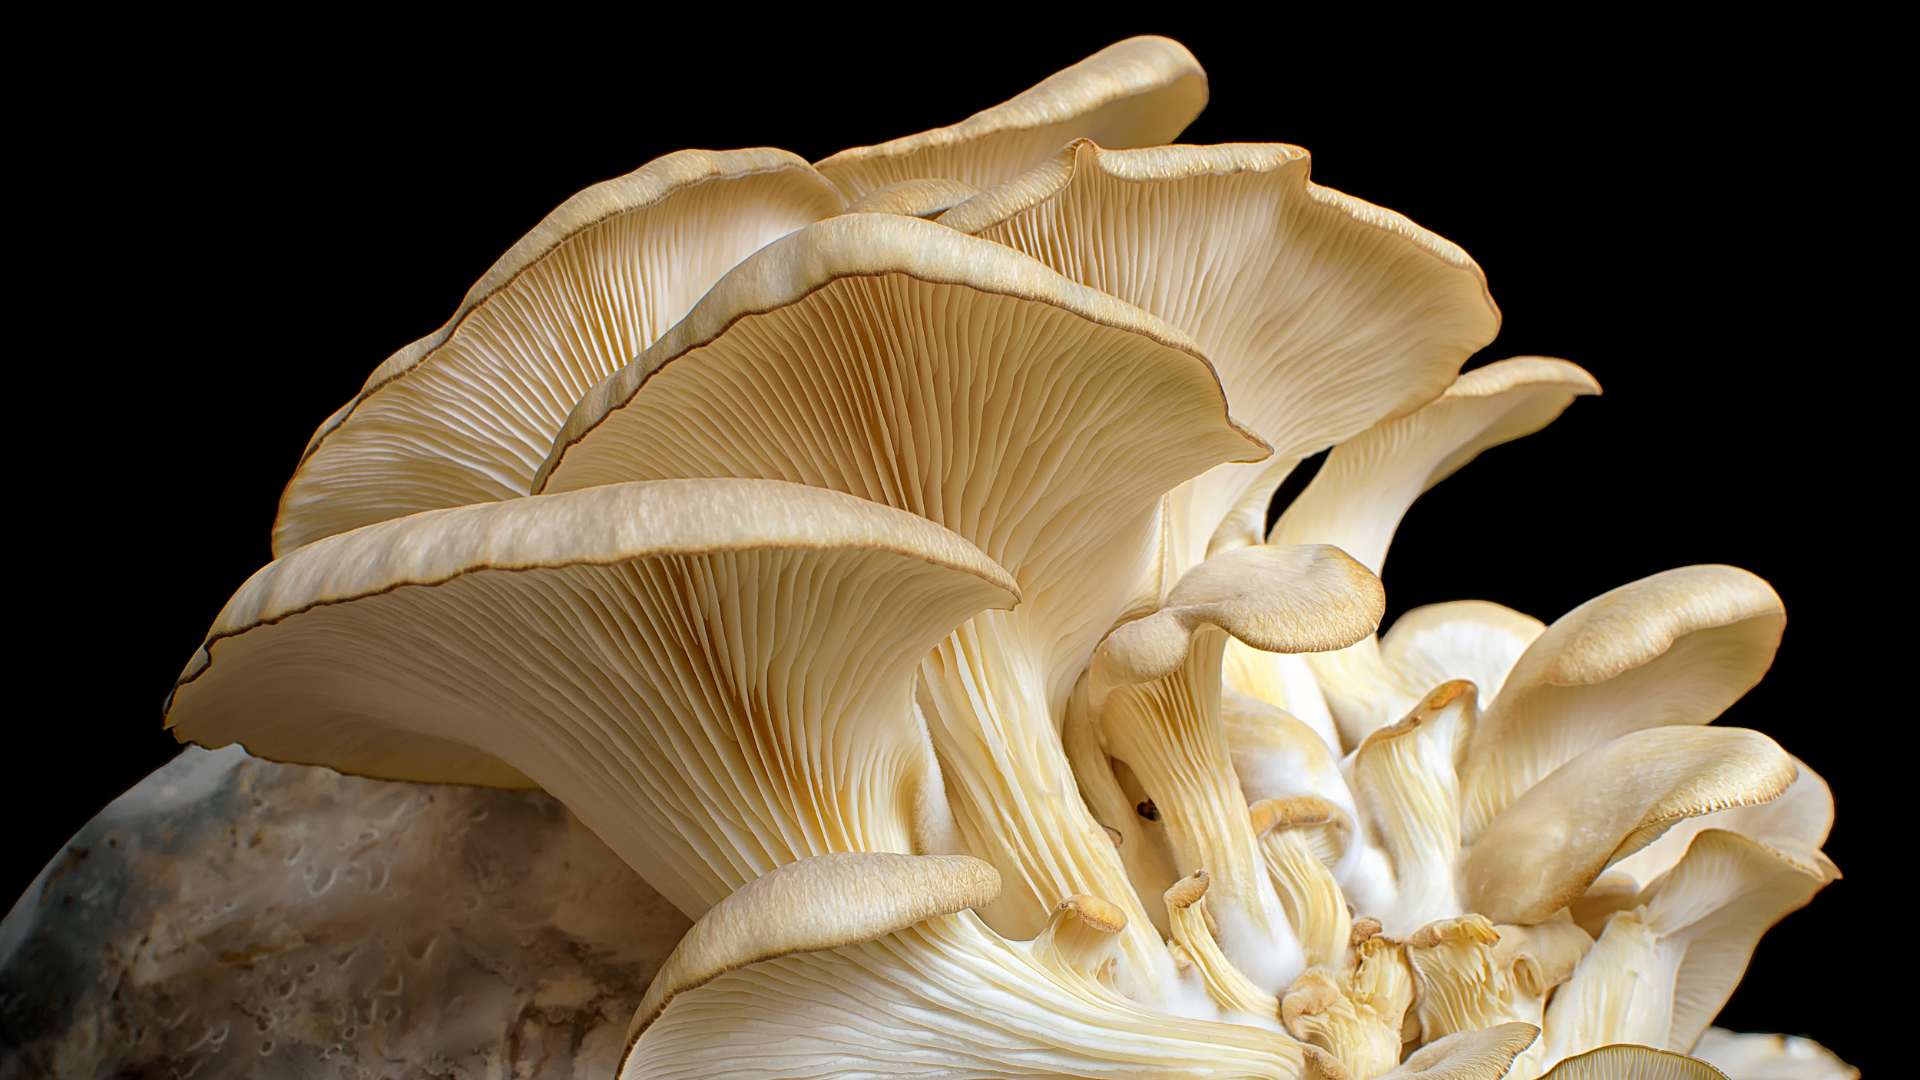
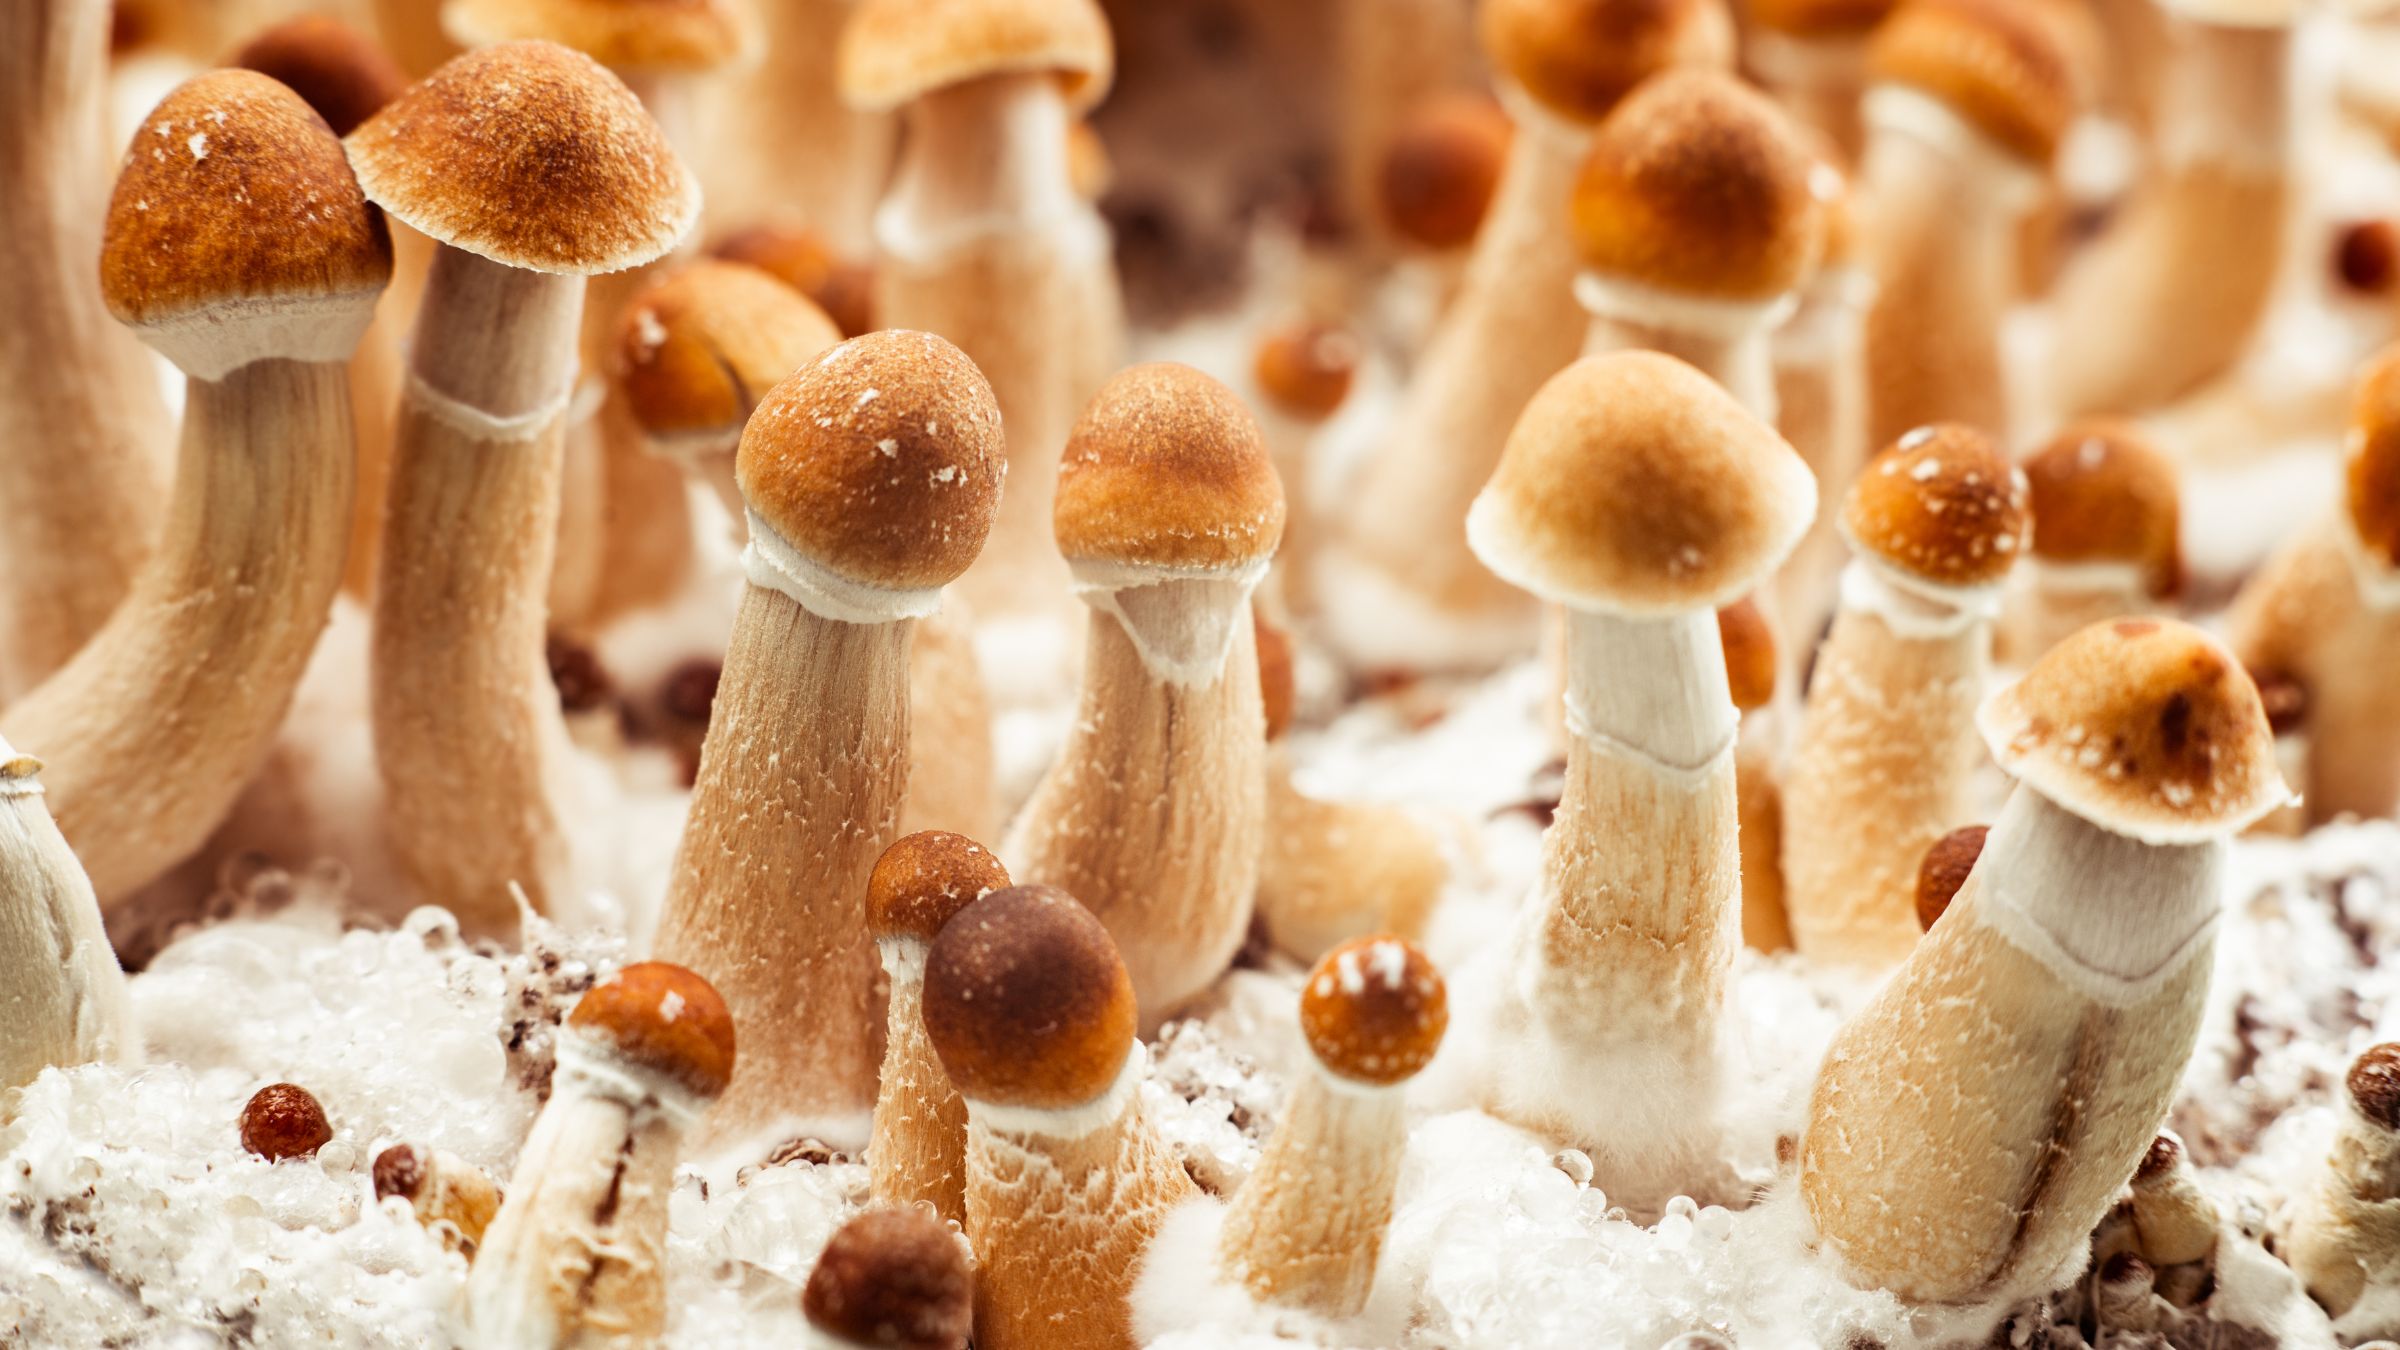
Understanding the details and importance of harvest can make all the difference in quality and yield. Remember, the goal isn’t just to harvest the mushroom but to do so in a way that promotes the health of the mycelium, which is the fungus’s underground root system. Healthy mycelium free of stressors like bacterial infection, will fruit multiple times.
Harvesting oyster mushrooms can be a meditative and rewarding experience, whether you’re nurturing them from spore to spore, in a fruiting block or gathering them from the forest floor, conducting the harvest with precision and care influences the final product you’ll enjoy in your favorite dishes and daily life.
This delicate process requires precision, patience, and the understanding of a few crucial principles to ensure a bountiful and healthful yield. In this guide, we will walk through the harvesting process from the perfect picking moment to post-harvest care and preservation.
Enter the Realm of Oyster Mushroom Health: A Brief Overview
Oyster mushrooms, aside from their excellent culinary versatility, are gaining recognition for their robust health profile. They are a rich source of antioxidants, low in calories, and offer numerous vitamins and minerals, including B vitamins, iron, and zinc. What sets them apart is their purported potential in enhancing gut health, regulating cholesterol, and even boasting anti-cancer properties. It’s this health wealth that makes the oyster mushroom a treasured addition to any holistic lifestyle.
The Harvesting Journey Begins
Timing is everything in the mushroom world, harvesting too early can lead to small fruit, while waiting too long can yield mushrooms that are tough and unpalatable. You’ll want to catch them at just the right moment when they’re perfectly mature but not yet old.
For those who choose the controlled ambiance of indoor mushroom cultivation, your harvest may be more predictable and your mushrooms will likely mature simultaneously, allowing for batch harvesting. The environment is carefully managed, with temperature, humidity, and light cycles tailored to the needs of the mushrooms.
Alternatively, if you’re gathering oyster mushrooms from the wild, your approach must be reverent and your eye must be sharp. You’ll hunt for clusters of oysters, often perched on the sides of trees or felled timber, noting their age, color, size, and the overall condition of the colony. Wild harvesting means paying attention to the survival of the colony, ensuring you leave enough to perpetuate the species and not disturb the balance of the ecosystem.
Signs of Readiness
The key indicators for a mushroom’s readiness include:
- Gills that are just starting to spread
- A full cap that is still slightly curled
- Slight yellow color (depending on the oyster mushroom- if you are growing blue oysters for example you’ll want to wait until they are a nice blue-ish grey)
Oyster mushrooms are ready to harvest about 4-10 days (depending on the oyster you are growing) after they begin pinning or when you can first start seeing the fruit grow.
When ready, you’ll want to approach the mushroom gently. A firm grab close to the base, followed by a slow and steady pull, is the way to avoid bruising and tearing. Learn to read the mycelium’s health by examining the base for any signs of damage – a perfectly harvested mushroom should leave no wounds behind.
Signs it may be too late to harvest:
- Caps start flattening
- Spores Releasing
- Enlarged gills
Bigger doesn’t always mean better- especially with mushrooms. Oyster mushrooms can grow fast and sometimes the perfect time to harvest can only last a few hours so keep a regular eye on your mushrooms as they mature to avoid having to clean up spores.
Pack your harvest away
Weigh your harvest and pack mushrooms into pre-weighed bags of 4, 6, or 10 ounces. Secure their freshness by sealing the bags and stowing them away in the proper conditions – oyster mushrooms thrive in cool, dark environments. Always research what conditions your mushroom specifically needs to survive as they can all be different.
Post-Harvest Preservation
The work isn’t over! Preserving the unused mycelium is pivotal in at home cultivation so you can get more than one flush out of your grow.
Begin by cutting about 2 inches off the top of the substrate bag and fold it down, sealing it with tape. Then, carefully cut a Z shape in the bag without crossing your incisions, preserving the integrity of the mycelial block for further growth.
Continuing The Life of a Fruiting Block
When you return the fruiting block to its growth chamber where conditions persist in humidity, temperature, and airflow – the mycelium will continue to produce. This cycle of harvest and regrowth is the rhythm of mushroom cultivation, and when done with skill and understanding, it yields a consistent bounty. By honoring the mycelium, we ensure a continuous flow of the exquisite Oyster Mushrooms, not just for culinary delights but also for the myriad health benefits they bring.
Want to learn more about growing and harvesting mushrooms? Visit SOTE Natural Remedies in Jordan, MN. They have mushroom experts on site ready to help you troubleshoot your mushrooms or even help you decide what to cultivate next. Check out their live mushroom grows and maybe pick up a fruiting block to take home and try for yourself. You can visit them 7 days a week during their regular business hours.

